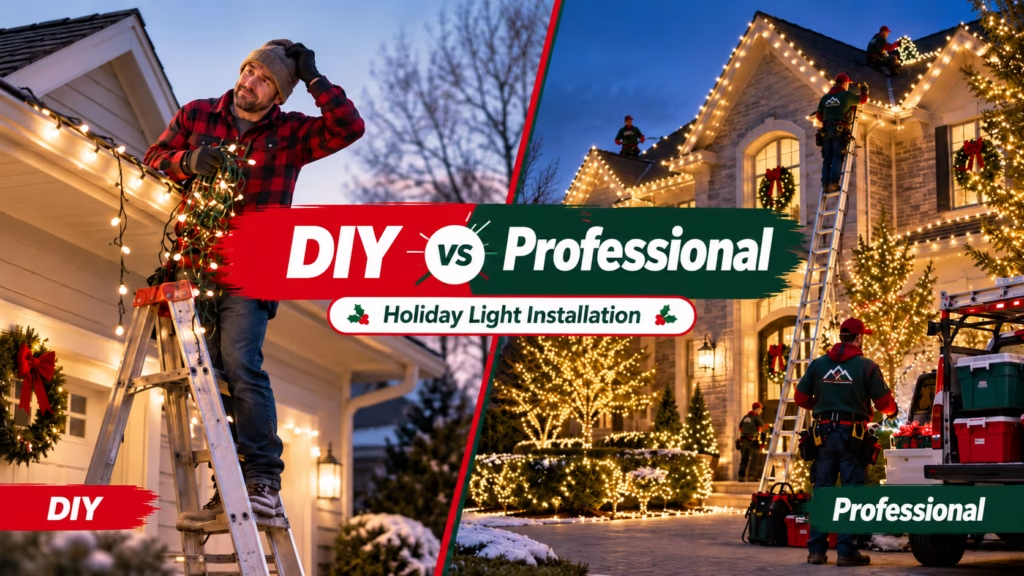
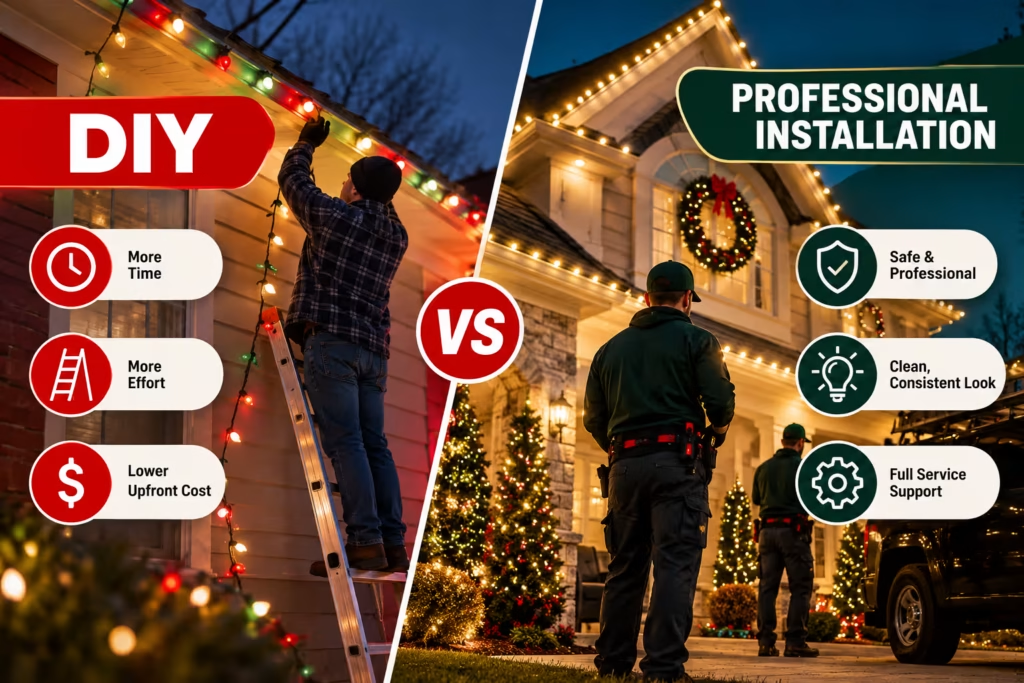
The difference between DIY decorating and professional holiday light installation becomes clear when a project includes more than a simple front eave. A homeowner can usually handle an accessible one-story roofline. Multiple gables, dormers, mature trees, custom-cut lighting, second-story work, and long power routes require more planning.
The practical question is whether the property can be measured, divided into sections, powered, mounted, tested, and maintained without crooked lines, excess wiring, or difficult access.
Factor | DIY | Professional Installation |
Simple one-story eave | Practical | Efficient |
Two-story roofline | More difficult | Specialized access |
Gables and dormers | Time-consuming | Section-by-section fitting |
Mature trees | Labor intensive | Specialized equipment |
Custom-cut lighting | More preparation | Property-specific fitting |
Power routing | Homeowner plans it | Included in planning |
Seasonal repairs | Homeowner handles them | May be included |
Removal | Homeowner handles it | Often available |
DIY works well when the installation has few variables.
Consider a single-story ranch with an 85-foot front eave, one garage, no dormers, no tall trees, and an outdoor outlet near the garage. The homeowner can measure each section, test the lights, install clips, hang the strands, route the connection, and inspect the result from the driveway.
Before christmas light hanging, measure each roofline section rather than estimating from square footage. Test every strand on the ground before mounting it, and keep clips, connectors, extension cords, replacement strands, and the timer together.
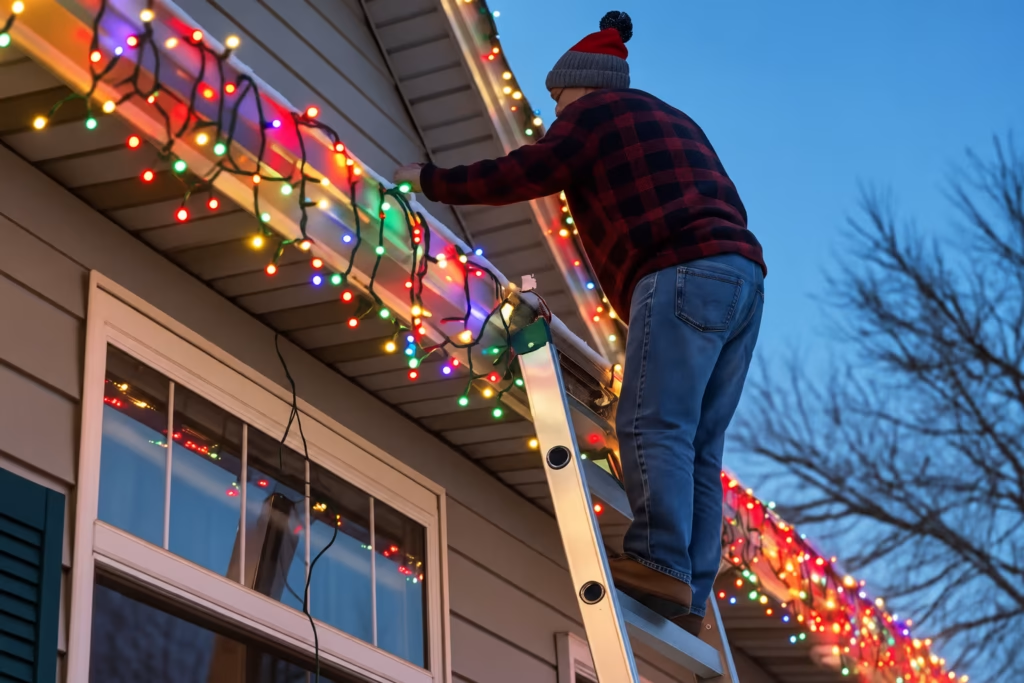
The project changes when access becomes difficult.
A six-foot garage eave is not comparable to a second-story gable. A complex home might contain:
Every feature creates another measurement, mounting, connection, or access problem.
A professional service should begin with the property rather than the lights.
The installer can divide the home into zones, determine measurements, identify connection points, select mounting methods, and plan transitions between sections.
A useful zone plan might be:
Zone 1: Main eave
Zone 2: Garage
Zone 3: Center gable
Zone 4: Dormers
Zone 5: Windows and columns
Zone 6: Trees
This prevents the common mistake of treating the property as one continuous string.
For custom installations, each section can be prepared according to its actual dimensions. That is useful where standard strings leave excess bulbs or cable.
The finished display should follow the architecture rather than simply cover it.
On a straight eave, consistent bulb spacing creates a continuous visual line. On a gable, spacing needs to remain consistent as lights follow both slopes. At a corner, excess wire should not form a large visible loop.
The installer should check the display from ground level because a line can look straight from a ladder but reveal a dip from the driveway. This matters especially for Christmas roofline lights.
A small tree light installation may be manageable with a short lighting section. A mature 18-foot tree with dense branches is different.
Outlining places lights along selected branches and generally takes less time.
Wrapping winds lights around branches and the trunk. It creates a denser appearance but requires more labor and repeated repositioning.
Two mature trees can add several hours to a project that initially looked like a simple roofline installation.
Power needs to be planned around actual outlet locations.
If the nearest exterior outlet is beside the garage but the display extends across the front elevation, the cord route needs to be considered before mounting begins.
Use suitable outdoor-rated extension cords and connectors, and position connection points appropriately for outdoor exposure.
Do not run a cord across a walkway simply because the nearest outlet is inconvenient.
Professional Holiday lighting service plan connection points alongside lighting zones, reducing unnecessary cable movement and producing a cleaner installation.
Custom-cut lighting is useful when roofline dimensions do not match standard string lengths.
Imagine a gable requiring 17 feet of lighting. A standard section may leave excess length that creates an awkward transition.
A custom section can be prepared to fit that measurement. The work may include measuring, preparing the section according to the lighting system, sealing connections where required, testing, and mounting.
DIY homeowners can use custom systems, but they need to understand the product’s cutting and connection requirements before modifying lighting.
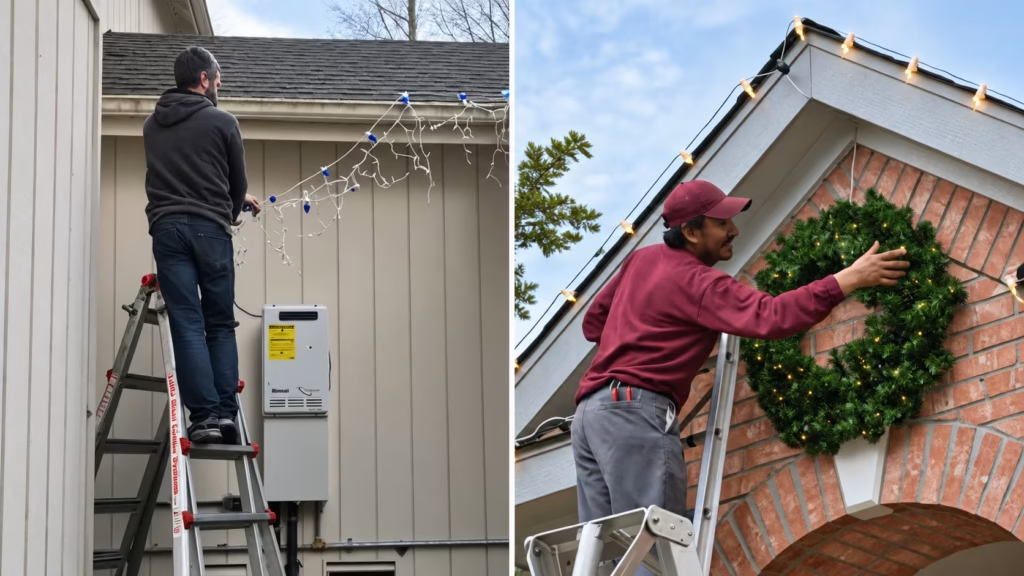
DIY holiday lighting usually has a lower upfront cost because you only pay for lights, clips, cords, timers, and equipment.
Professional installation costs more, but the price can include installation, design, maintenance, removal, and sometimes storage.
Cost Factor | DIY | Professional |
Lights/materials | $1.50-$3+ per linear ft. | Often included |
Installation | $0 | $2-$7 per linear ft. |
Cost per sq. ft. of home | About $0.15-$0.75+ | About $0.50-$2+ |
Clips & mounting hardware | $20-$100+ | Usually included |
Extension cords | $20-$100+ | Often included |
Timer/smart controls | $15-$100+ | $25-$150+ |
Tree wrapping | DIY labor | $75-$300+ per tree |
Removal | Your time | $150-$600+ |
Storage | $20-$100+ | $100-$300+ or included |
Maintenance | DIY repairs | $75-$300+ per visit |
Typical total | $200-$1,000+ | $500-$3,000+ |
Installation is not necessarily the end of the service.
A failed section after several weeks can result from a damaged light string, loose connection, displaced clip, or power issue.
With DIY, the homeowner has to locate the problem and retrieve the equipment needed to reach it.
Some professional holiday lighting services include seasonal maintenance. If offered, the agreement should specify what is covered and whether replacement materials are included.
If storage is included, sections should be labeled by location. Keeping the front eave, garage, gable, and side sections separated makes the following installation easier.
Do not compare services only by light footage or advertised price.
Ask what is included:
“200 feet installed” does not tell you whether two mature trees or six dormers are included.
A property-specific scope makes the service easier to understand and reduces surprises.
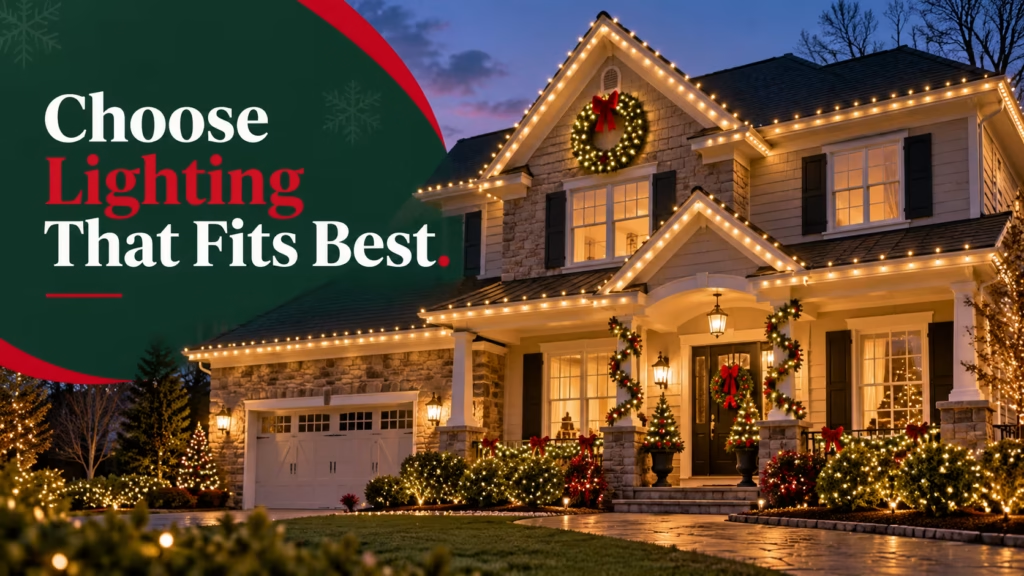
DIY is reasonable when the home has a simple, accessible layout and the homeowner is comfortable handling the installation.
Professional installation becomes more practical when the property includes second-story rooflines, steep sections, mature trees, numerous decorative zones, custom-fit lighting, or difficult electrical routing.
Basic lighting connections may be included, but household wiring modifications generally require an appropriately qualified electrical professional.
Some seasonal packages include removal, while other companies charge separately, so removal terms should be confirmed before installation.
Some services offer maintenance for failed sections, loose clips, damaged connections, or other installation-related problems.
Custom-fit sections can reduce excess wire and help maintain consistent bulb spacing around dormers, gables, short eaves, and unusual transitions.
A useful quote should identify installation areas, materials, custom work, trees, maintenance, removal, storage, and services that cost extra.
Share your thoughts below and let us know how we can help with your lighting project.
Get fast, reliable help for your lighting project with clean installation, secure setup, and expert support from start to finish.